This guide will help you install osTicket Awesome for the first time into a subdomain on your self-hosted Linux server.
You have chosen to install osTicket Awesome into a subdomain. The subdomain can have any name of your chosing. Common names that people use are osticket, helpdesk or support.
For the purpose of these instructions we will assume that your website is www.your-domain.com and that your osTicket Awesome installation will be in www.support.your-domain.com
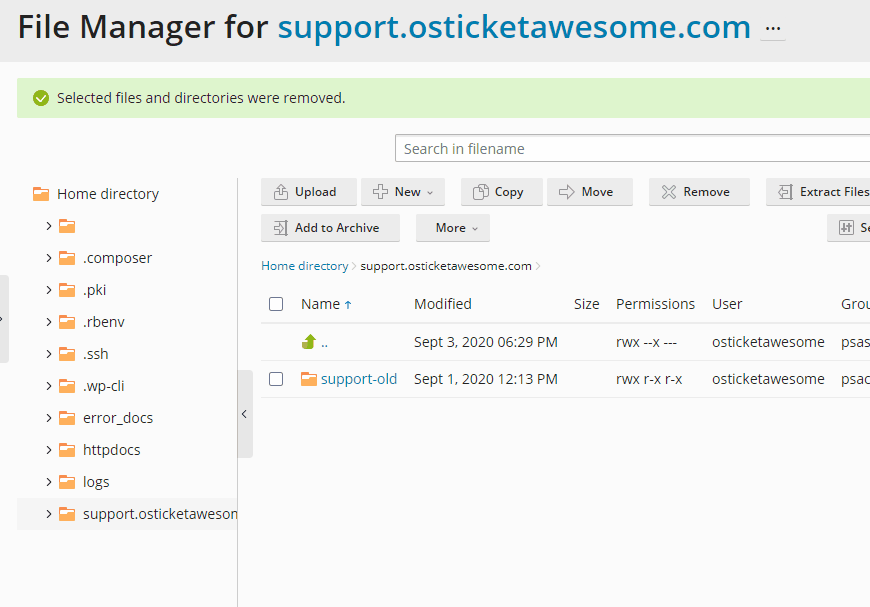
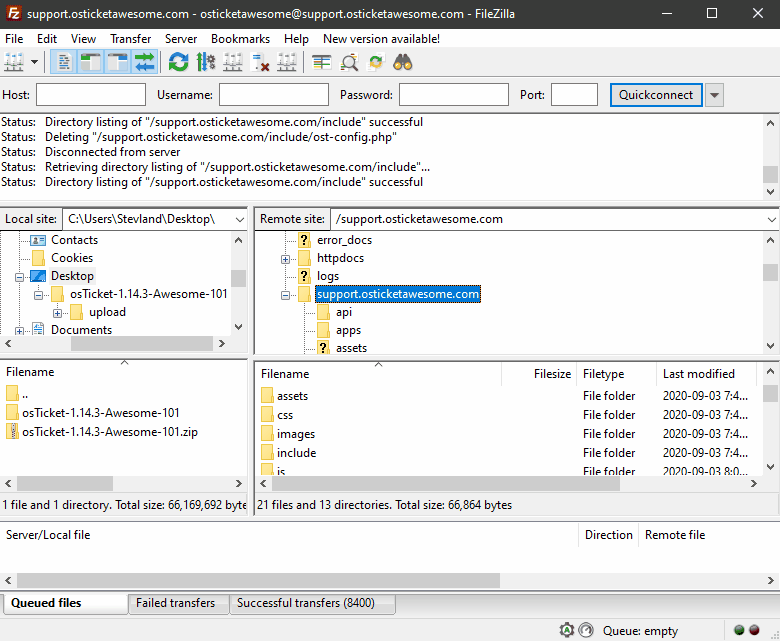
Download and extract the latest osTicket Awesome .zip. Move the contents of the upload folder to your subdomain root directory. Delete the upload folder.

Rename include/ost-sampleconfig.php to include/ost-config.php
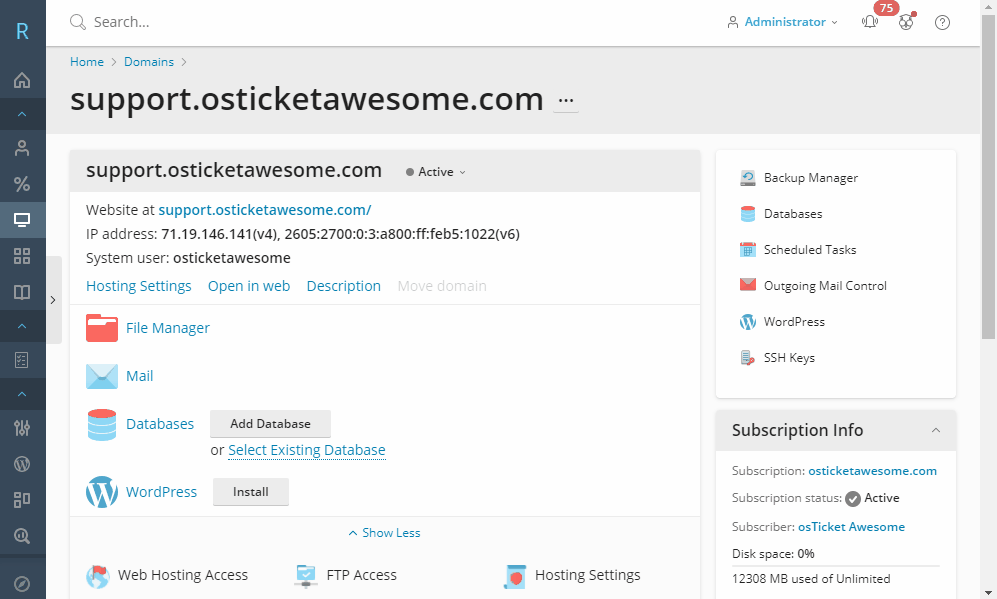
Create a database using cPanel, Plesk, phpMyAdmin or CLI. Create a user for your database.
Go to www.support.your-domain.com/scp and follow the prompts to complete the installation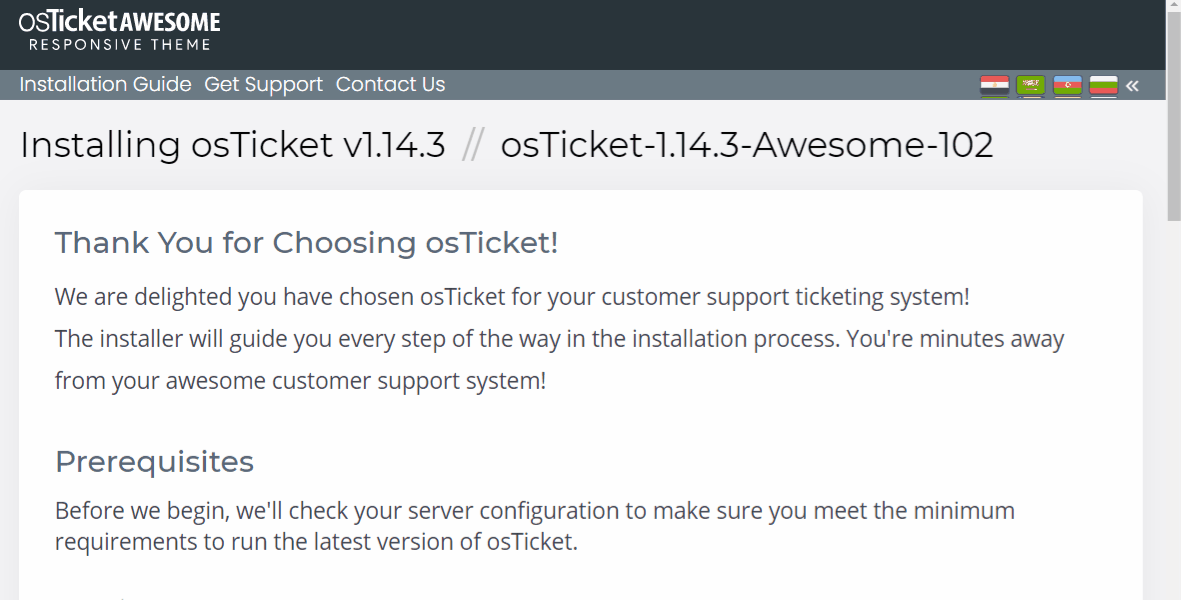
Now take a look at our post-installation tasks
Comments 5
I am getting the installation screen. But as soon as I fill in the details and click install, the page is going blank and nothing happens. can u please guide.
Installing osTicket v1.16.1 // osTicket-1.16.1-Awesome-101
Me too – click install and blank screen
I’ve had this problem too. In my case I’ve had set up a fresh system (Ubuntu 22.04) with PHP 8.1. After some research, I found out that PHP 8.1 might be the problem because I was told it was yet unsupported by osTIcket. So I downgraded it to PHP 8.0 and from that moment everything worked fine.
Yep – same – 1.16.x is not PHP 8.1 compatible. Dropped to 8.0.x and works.
I get the error during installation: Cannot declare class Event, because the name is already in use in /var/www/vhosts/befi-fs.ch/ticket.befi-fs.ch/upload/include/class.thread.php on line 2240