This guide will help you upgrade from osTicket (which you already have installed in a subdomain on your self-hosted Windows IIS web server) to osTicket Awesome.
When your osTicket was first installed, you (or the person who installed it) chose the name of the subdomain that it was installed into. Common names that people use are osticket, helpdesk or support.
For the purpose of these instructions we will assume that your website is www.your-domain.com and your current osTicket installation is in www.support.your-domain.com
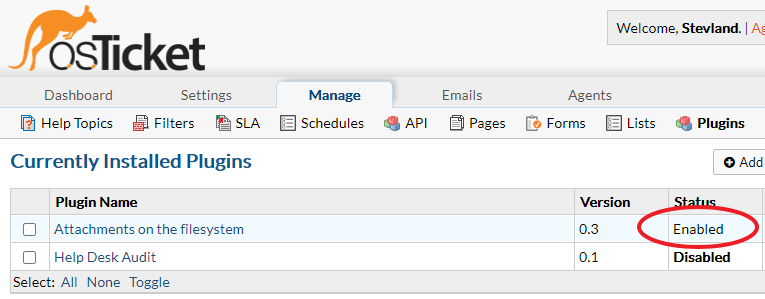
Go to Admin Panel > Manage > Plugins
Make a note of any plugins that are installed and Enabled
Open include\ost-config.php
Make a note of your Database Options
Go to Admin Panel > Settings
Switch your old osTicket to Offline

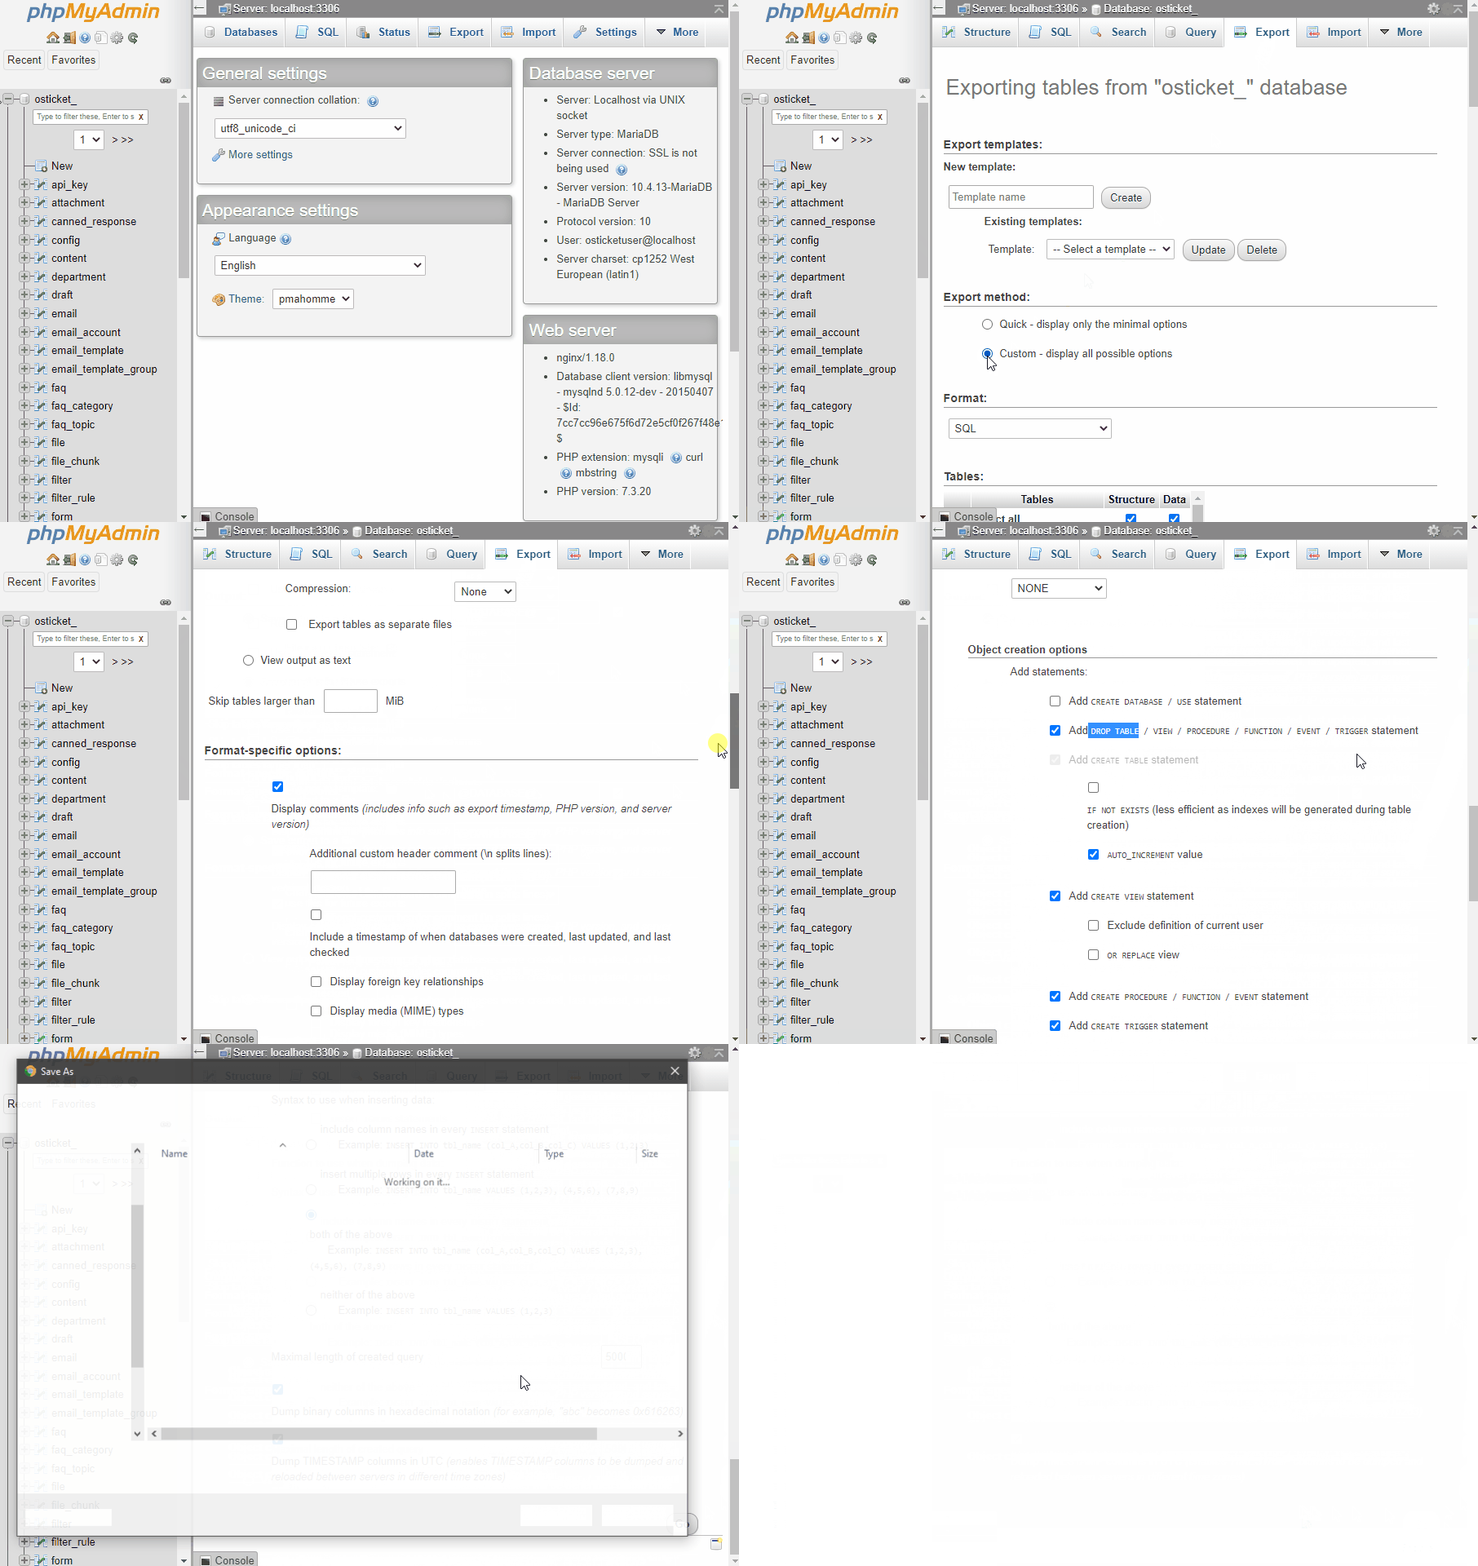
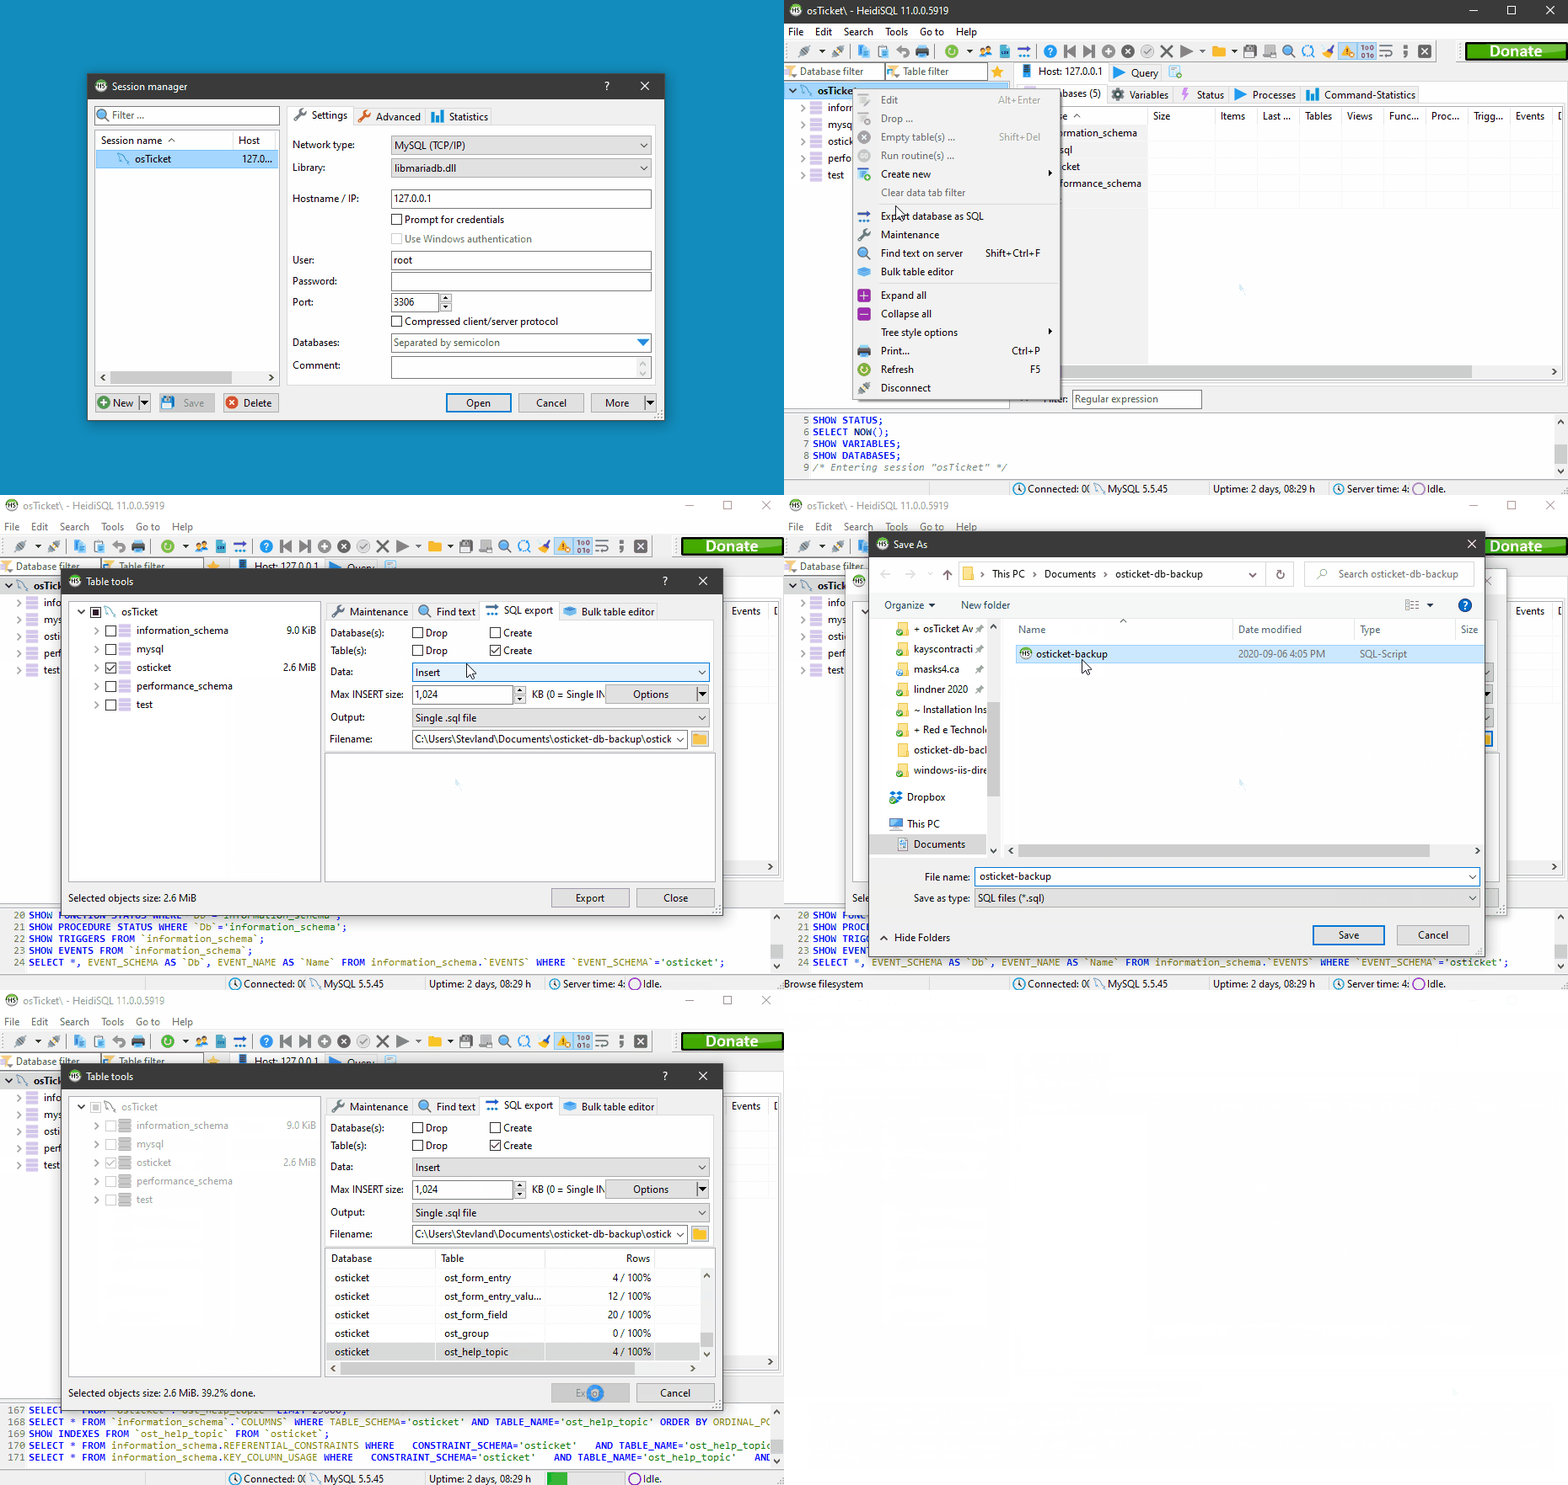
Backup your database using one of these methods
Navigate into your subdomain root directory. Create a support-old directory to backup your old osTicket files. Move the old osTicket files into that directory.
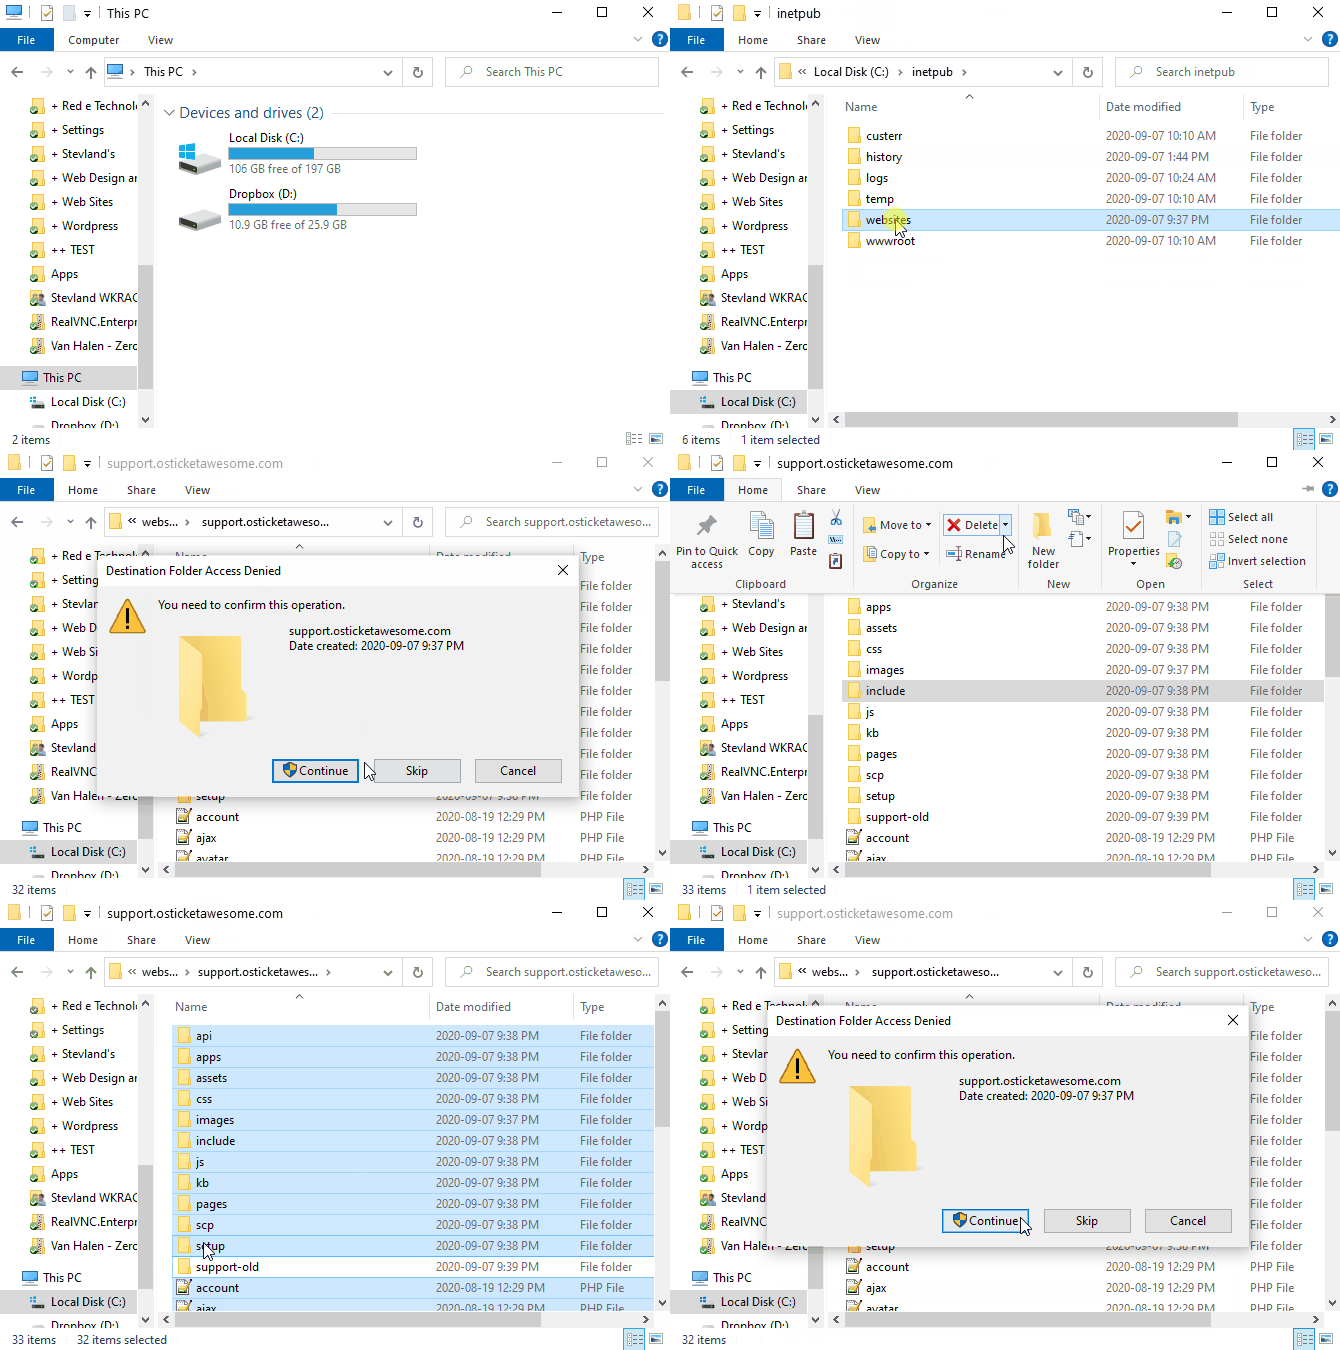
Download and extract the latest osTicket Awesome .zip. Move the contents of the upload folder to your subdomain root directory. Delete the upload folder.
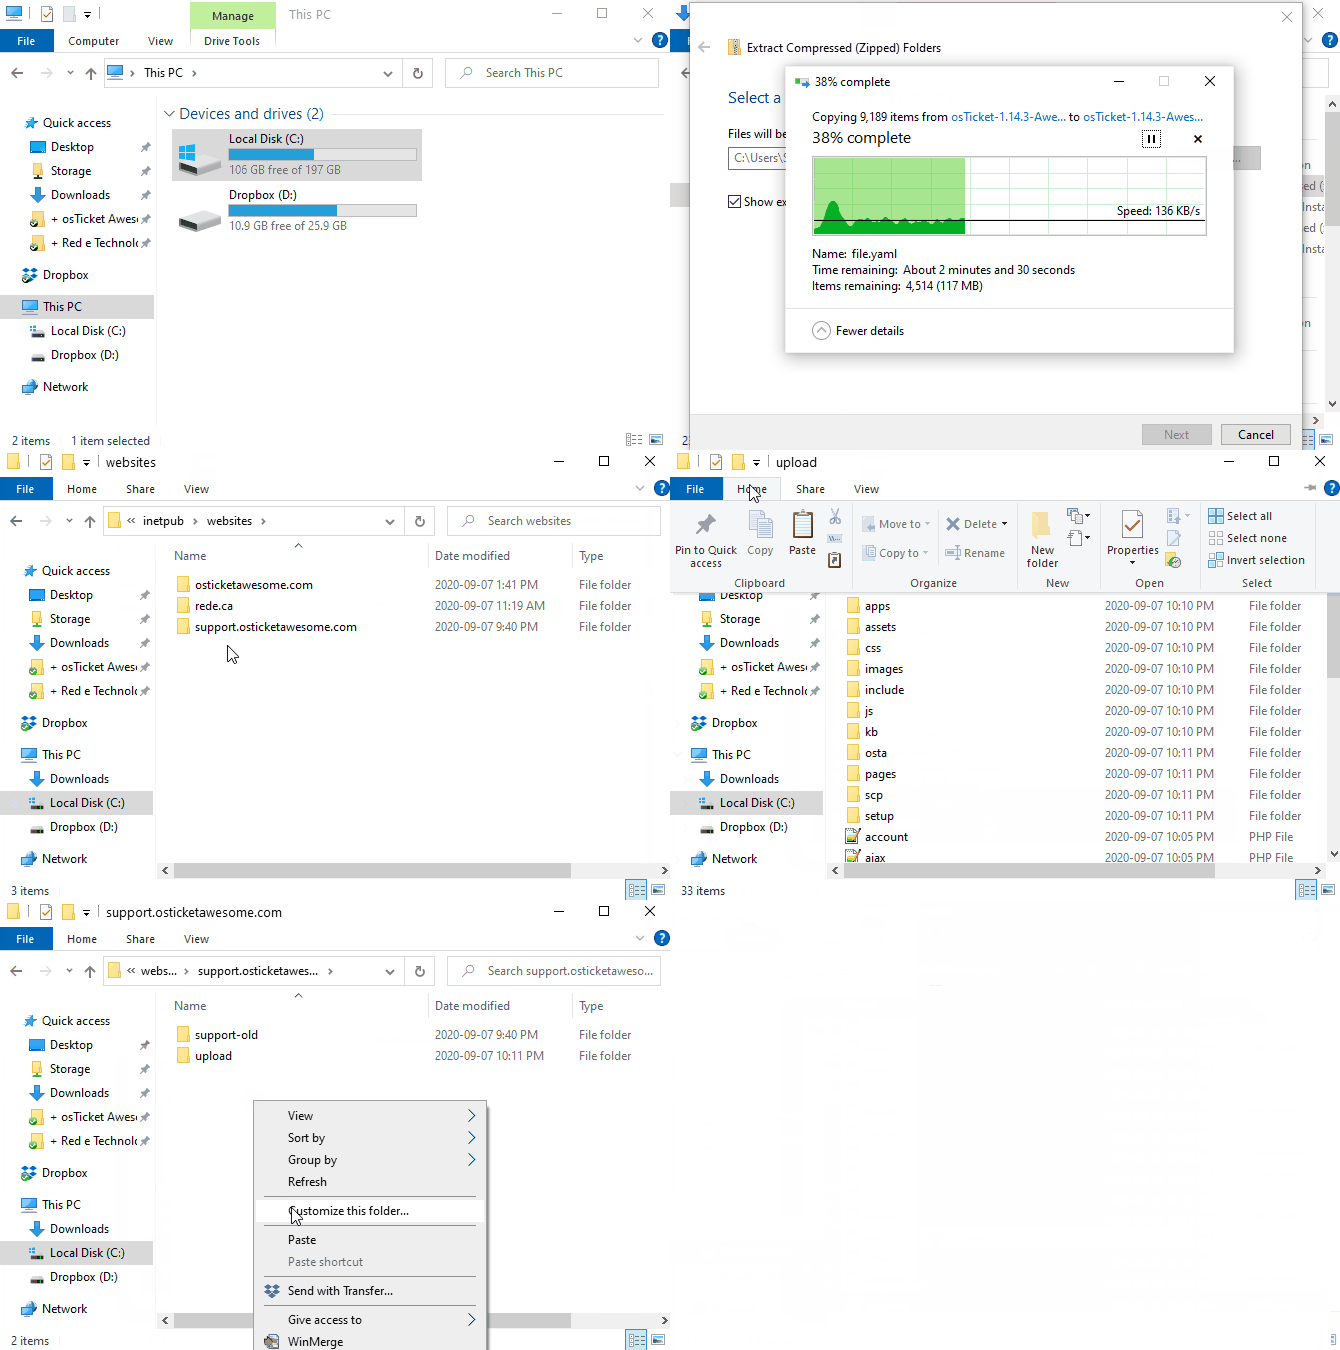
Copy ost-config.php from include\support-old to include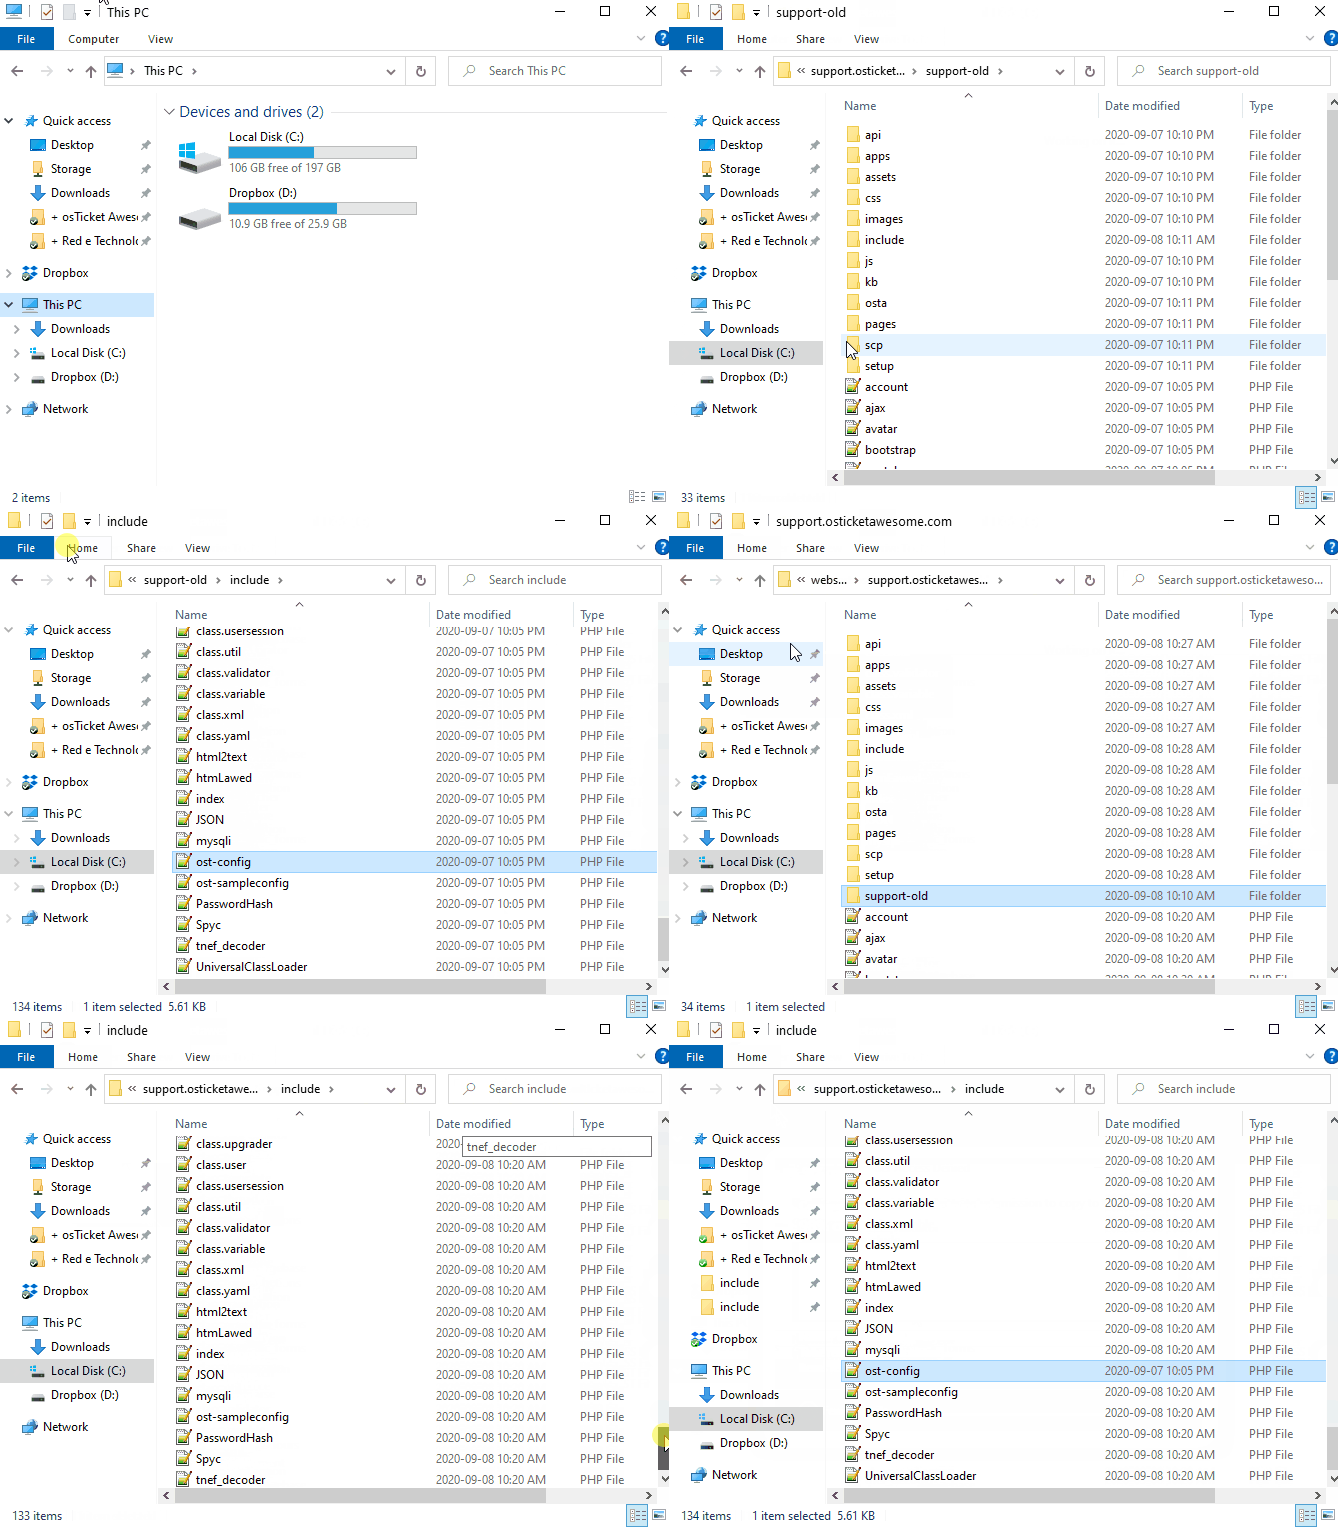
Go to www.support.your-domain.com/scp and log in
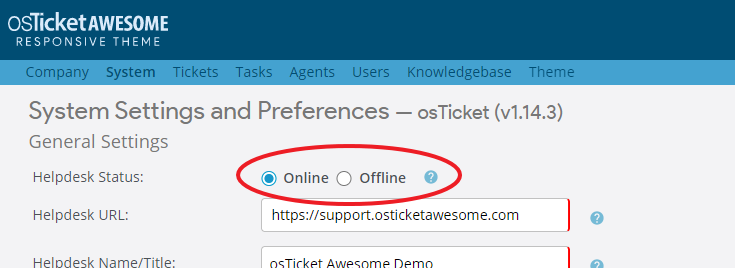
Switch osTicket Awesome to Online (Admin Panel > Settings)
Always clear your browser cache after installing an update
Now take a look at our post-installation tasks
