This guide will help you install osTicket Awesome for the first time into a directory on your self-hosted Windows IIS server.
Most people install osTicket Awesome into a directory. You can name that directory anything that you want. Common names that people use are osticket, helpdesk or support.
For the purpose of these instructions we will assume that your website is www.your-domain.com and that the support directory will be in your web root, thus your osTicket Awesome installation will be www.your-domain.com/support
Make sure you have the Web Platform Installer installed on your system. If not, install it.
Make sure you have the PHP installed on your system.
If not, run Web Platform Installer, click Products, search for PHP.
Select a PHP 7.0 or higher version that is suitable for your system (PHP 7.3.13 x86 or x64 is the current recommendation).
Click Add and then click Install.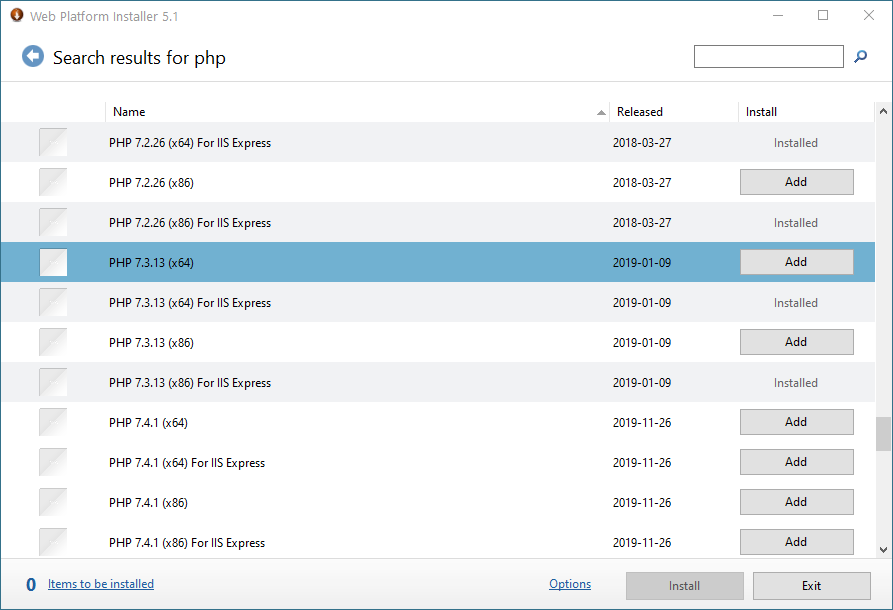
Make sure you have the MySQL installed on your system.
If not, run Web Platform Installer, click Products, search for MySQL. Select MySQL Windows 5.5.
Click Add and then click Install.
You will be prompted to create a password for the root user. Create a stong password and make a note of it. 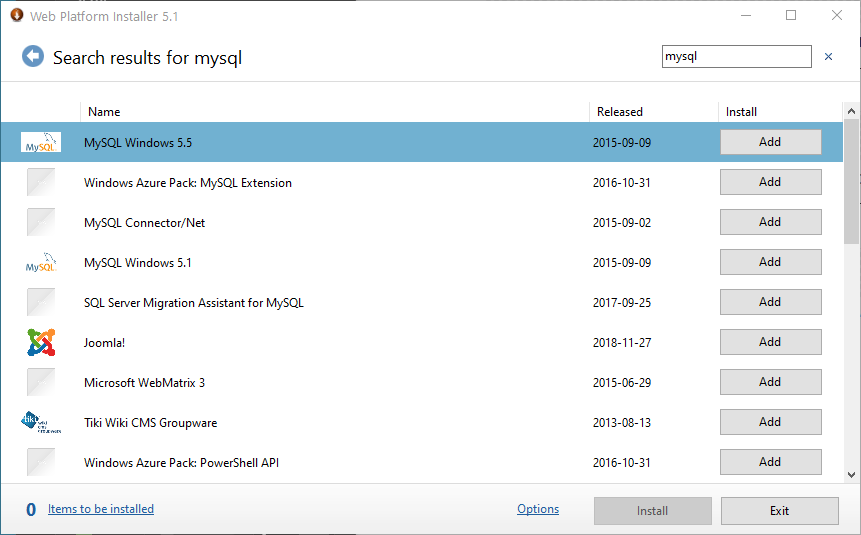
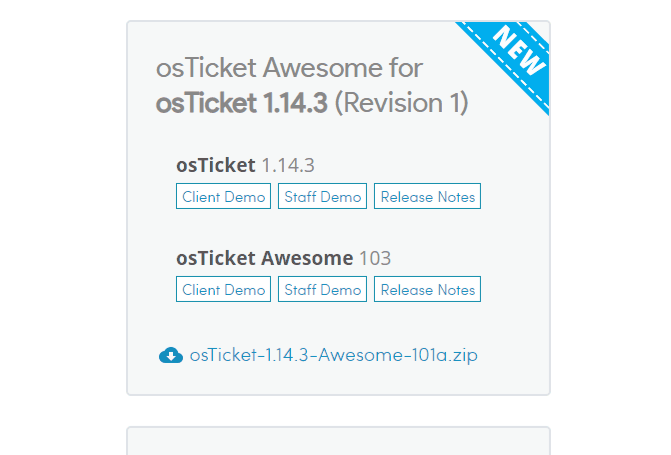
Download and extract the latest osTicket Awesome .zip. Put the upload folder in your web root directory. Rename it to support.
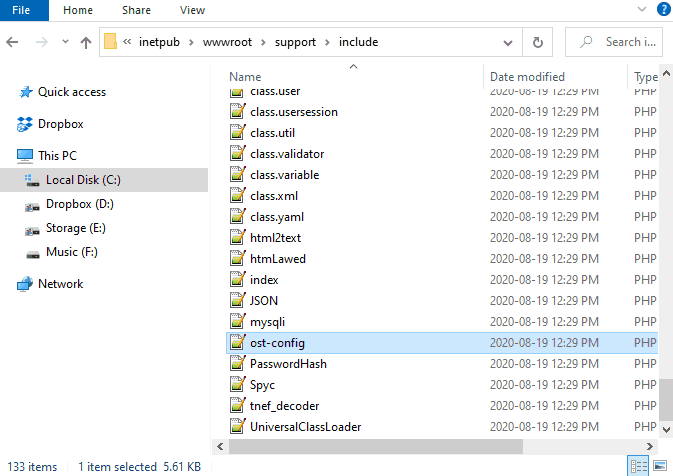
Rename include\ost-sampleconfig.php to include\ost-config.php
Make the ost-config.php file writable
(Optional) Install additional PHP extensions to increase osTicket performance.
Make sure you have the PHP Manager installed on your system. If not, install it.
Open IIS Manager, go to Sites > your-domain.com > click on PHP Manager.
Under PHP Extensions click on Enable or disable and extension.
If any of the following are available, enable them.
php.imap.dll
php.intl.dll
php.opcache.dll
Locate your php.ini file (e.g. C:\Program Files\PHP\v7.3.php.ini).
Open php.ini as Administator and add the following line to the very end of the file:
zend_extension=php_opcache.dll
Create a database using HeidiSQL or MySQL Command Prompt. Create a user for your database.
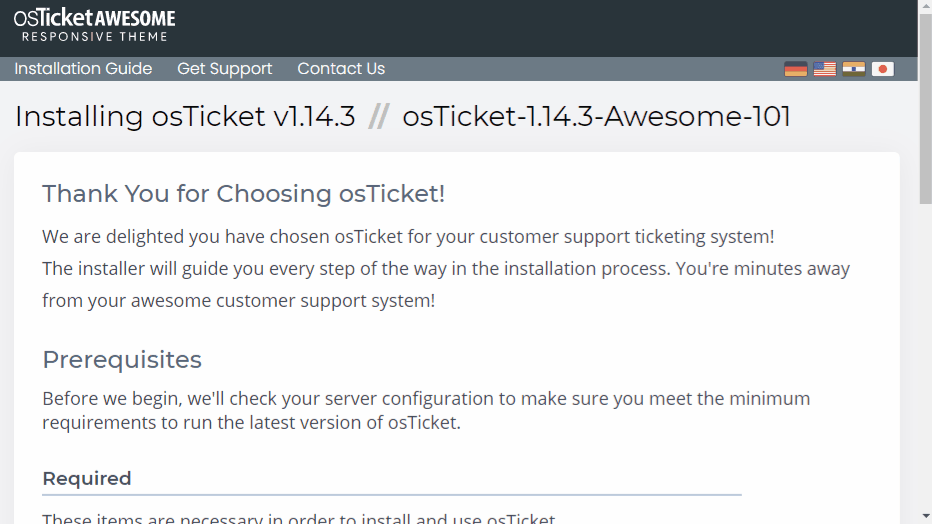
Go to www.your-domain.com/support and follow the prompts to complete the installation
Create your first osTicket administrator account and password
In most cases you will keep the default settings for Table Prefix and Hostname
Enter the Database name you create earlier
Enter the Username and Password you created earlier.
Click Install Now
Remove write access of ost-config.php
Now take a look at our post-installation tasks